Ever since I first saw this LEAF series beauty branch I knew I had to make one, I love the idea of bringing the outdoors in, even painting a nicely shaped branch white and adding it to a softly painted wall (perhaps in a dining room or bathroom) is beautiful! The original BB I made a few weeks back was riddled with problems and not sturdy enough for nails, then I lost all my photos of the DIY itself to mercury retrograde, Damn you retrograde!!! So this is my second and MUCH BETTER beauty branch. In the LEAF series I think the aim is more of a rugged look, whereas I chose to keep the ruggedness in the shape, aside from that I wanted the colors and details soft and delicate, like my jewelry. I also opted for ribbon instead of cord.
Hope you enjoy...

Materials Needed:
Sturdy dry branch
Pruning sheers (I lucked out and found this perfect branch already in a pile)
Sand paper (grain size 70c or above)
Painters blue tape
Assorted medium to large size paint brushes
Standard white (for priming) and assorted colored acrylic paint
Small nail studs and hammer
Jewelry craft or Crazy glue
Small baubles for nail heads
Tweezers
Scissors
White ribbon (or rope depending on your taste)
After finding an adequate and sturdy branch, (mine was in this old wood pile out back) you'll want to trim off any leaves and make sure its free of any mold and allow is to dry out totally. After trimming off any scraggly bits that could cause scrapes you'll need to sand your branch. I used 70c grain paper but anything that removes the outer dead crumbly bark will work, and make it easier to paint. Make sure you get the knots and small branches as well.


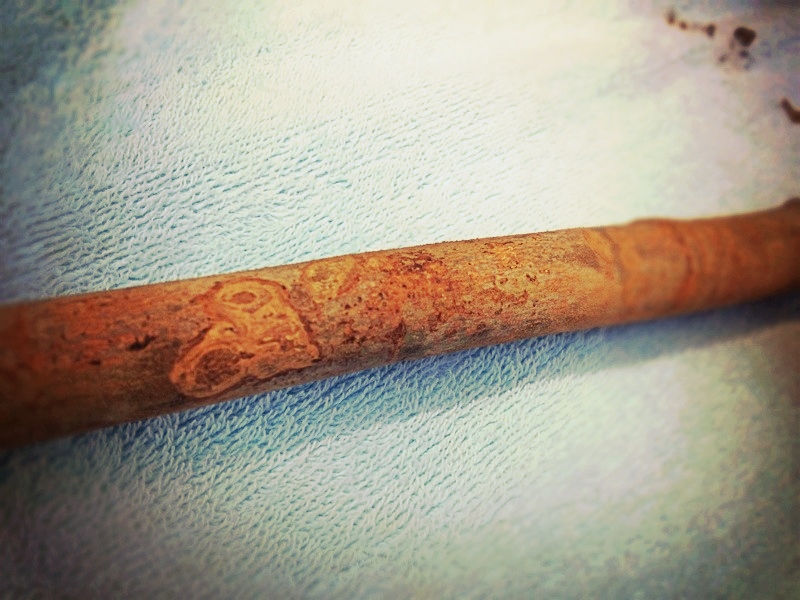
After your branch is nice and smooth paint white as a base color, you could also use primer for this step. After priming allow about an hour for the branch to be completely dry, this is important because you'll be taping off sections to paint.


During this time choose colors you want to use or play around with design and pattern ideas. I decided on striping 4 of my favorite Reeves colors but added one part Reeves titanium white for every two parts color to mellow it out a bit. The colors I used were: Blue Lake, Lemon Yellow, Veridian Hue, and Violet

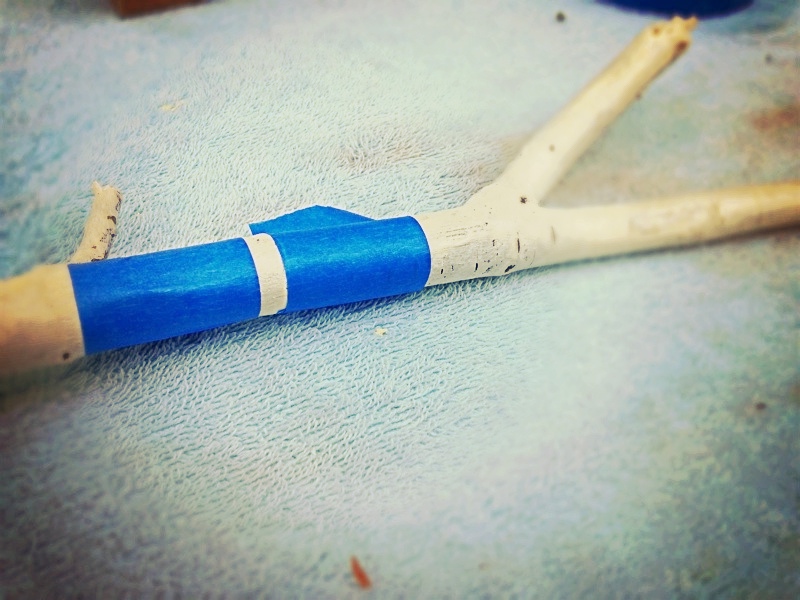
After your branch is thoroughly dry tape off sections with your painters tape, you can allow dry time and overlap with more tape or free-hand small bands as I did after the initial large sections were dry. After You've totally finished your painting and removed your tape, touch up any spots with your white priming color, and allow a few hours for that to dry as well before hammering your nails in.


After everything is dry choose the spots you'd like to add nails (you could also use thumbtacks or small door handles, or even hooks, have fun with it! Ive seen various versions on pinterest). Once you've hammered your nails in add a bit of craft/crazy glue to the base of the nail, just to assure it doesn't move if you add heavy jewelry. Paint the base of the nails white (optional, again, this was what I liked but you can play around and have fun with it). After the nails are dry add your baubles to the head of each nail, I chose small clear glass beads because it complimented the ribbon I used to hang my branch. You'll want to glue on your baubles with tweezers so you don't end up with a hand full of beads and glue.


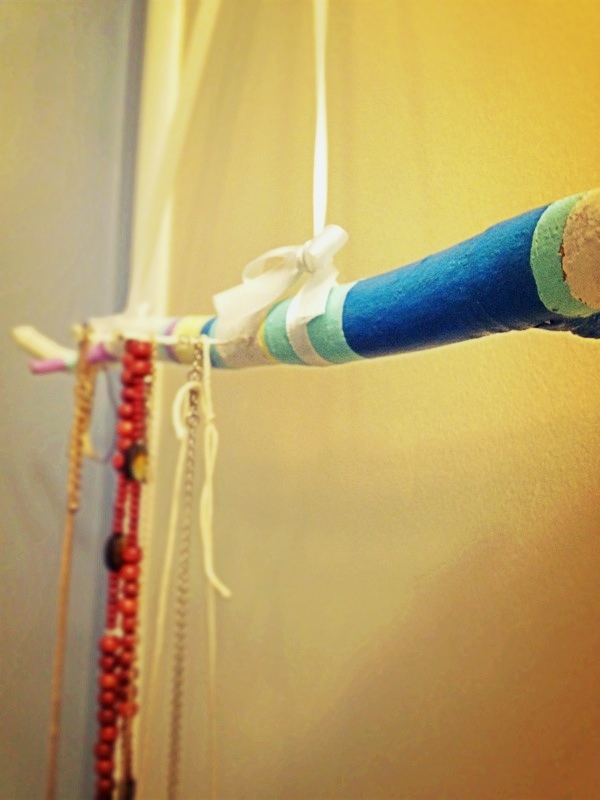
Once your nail heads are all dry add your ribbon or string. I chose white satin ribbon but again, have fun with it and use anything from rope to twine to (faux) leather/suede scraps. You can also play with the knotting, I tied a double knot but then looped around a bow and trimmed the excess ribbon.

Find a nice spot, I used the back of a door but will be playing around with different spots. Add your jewelry and Voila! Your very own beauty branch!
Hope you enjoyed, I'd love to see your take on the beauty branch, its fun seeing how everyone puts their own spin on it and personalizes them.
No comments:
Post a Comment
Thanks for sharing!